


Configure a messaging channel
Contents
Workflows is currently in early beta. While in beta, workflows is free to use. See the overview page for the proposed pricing model.
We're always looking for feedback to improve workflows, please reach out to us directly in app.
- 1
Create a new messaging channel
RequiredBefore you can design a workflow, you need to configure a messaging channel. Workflows that send messages use messaging channels to deliver messages to your users.
To create a new channel, go to workflows > Channels tab > click + New channel, and select the channel you want to configure:
Email is the default messaging channel in PostHog.
You can use it to send drip campaigns, transactional messages, or announcements directly from the Workflow Builder.
Configure the channel
To configure the channel, you need to provide the following details:
- Enter your from name (e.g.
PostHog Team). - Enter your from email (e.g.
team@yourdomain.com).
This is the address that recipients will see in their inbox.
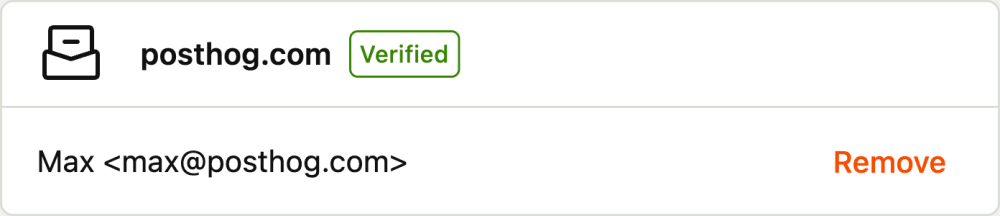
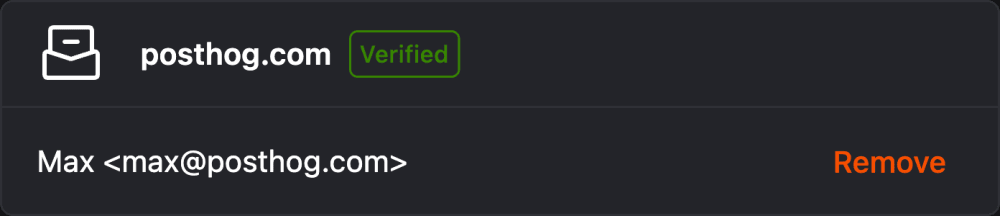
Verify your domain
To maximize deliverability and avoid spam folders, you must verify your domain.
- After adding your email address, PostHog shows DNS records for SPF and DKIM.
- Copy these into your domain host (e.g. Cloudflare, GoDaddy).
- Verification may take a few minutes to propagate.
Once verified, you'll see a green check mark in your settings.
- 2
Create a template
RecommendedNavigate to Workflows > Library tab > click + New template.
- Give your template a name.
- Write your subject line and body content (HTML and text versions are supported).
- Use variables like
{{ person.name }}to personalize your message. See the template builder documentation for more information on available variables.
Save your template — you'll be able to select it later when you design a workflow.
You'll still be able to edit the message directly in the workflow builder.
- 3
Troubleshooting
CheckpointCommon issues you may encounterIssue Solution Emails not sending? Check that your domain is verified and you've added the DNS records correctly. Spam folder issues? Ensure SPF/DKIM are valid, and consider setting up DMARC. Variables not populating? Confirm the property exists on the person profile (e.g. person.name).